HDB Renovation: avoiding patchy painted walls later
HDB Renovation clients mention patchy walls more than almost anything else a year down the line. You see it as uneven shading, a slightly darker patch where a repair was made, or roller marks that catch the light. The good news: patchiness is almost always a prep and process problem, not a paint problem. Do the groundwork and your walls stay even.
1. Why walls go patchy in the first place
Patchiness usually comes from one of three things. First, painting over a dirty or greasy wall so the paint grips unevenly. Second, skipping a primer on repaired spots, so the patch absorbs paint differently from the old surface. Third, using too little paint or inconsistent roller pressure, leaving thin streaks.
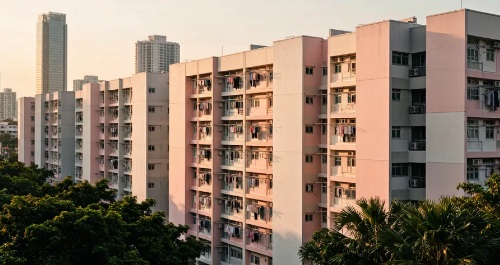
Old HDB flats are especially prone because decades of cooking film and previous touch-ups sit under the new coat. Without proper prep, you're painting on a history of uneven surfaces.
2. The prep steps that prevent it
A solid prep routine looks like this:
- Wash the walls with a mild sugar-soap solution to remove grease and dust.
- Scrape off any flaking or bubbling paint and sand the edges smooth.
- Fill cracks and holes with putty, then sand flush once dry.
- Apply a suitable primer across the whole wall, not just the patches.
- Let each coat dry fully before the next — humidity slows drying here.
The primer step is the one people skip. It's the equaliser that makes old and new surfaces drink paint at the same rate, which is exactly what kills patchiness.
3. Getting the application right
How you roll matters as much as what you roll. Keep a wet edge so you're always blending into fresh paint, not a dried line. Use a quality roller with the right nap for your wall texture, and don't stretch a tray of paint too thin.
- Cut in edges with a brush first, then roll the field in one direction.
- Apply two coats minimum for even coverage, three on a dramatic colour change.
- Avoid painting in the noon heat or right after rain when walls hold moisture.
For a full HDB Renovation, schedule painting after carpentry and tiling so you're not scuffing fresh coats during heavier works.
4. Colour choices that hide flaws
Deep or saturated colours show every roller mark, while light neutrals forgive a lot. If you love a dark feature wall, accept that it needs extra care and a near-perfect application. For the bulk of the flat, soft tones keep imperfections quiet.
Matte finishes hide wall unevenness better than gloss, but gloss is easier to clean — another reason bathrooms get semi-gloss and bedrooms get eggshell.
5. Maintenance so patches don't return
When you do touch up later, don't dab paint onto a scuff and walk away. Feather the edges and, if the area is large, repaint the whole section between corners so the sheen matches. Keep the leftover paint labelled by room for exact colour matching.
If mould appears near a bathroom, treat the cause — ventilation — before repainting, or the patch will return. A proper HDB Renovation treats the source, not just the symptom.
6. What to ask your painter
Before you commit, ask whether they prime the full wall, how many coats are included, and what they do about existing stains. Clear answers here tell you a lot about the final result. Get the process right and your walls will look even and clean for years, with no ghostly patches reminding you of every old repair.