HDB Interior Design Singapore: Wet and Dry Zones
HDB interior design Singapore flats follow a clear split between wet and dry zones, and HDB bakes that into the build. New BTO flats arrive with wet-area tiles already laid in bathrooms and the service yard, so your reno plan starts from a fixed wet footprint. Respecting that split keeps water where it belongs and protects your HDB approved flooring in the living spaces.
What HDB counts as a wet zone
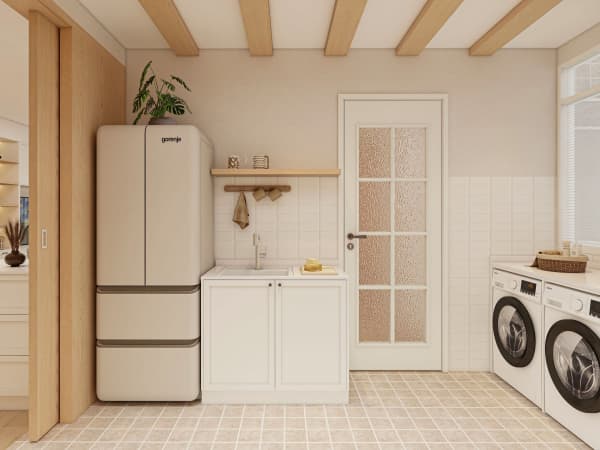
HDB treats the bathroom and the service yard as the primary wet zones. The bathroom ships tiled and waterproofed from the start. The service yard, where the washer and dryer sit, also gets floor tile so a leaking machine will not damage the slab below. Anywhere you route a water point becomes a wet zone by default.
Think about the kitchen too. The sink side stays wet during prep, even if HDB classes the kitchen as a dry zone on paper. A good layout keeps the sink close to the existing water point so you avoid cutting new pipes through the slab. That saves permit hassle and keeps the BTO renovation timeline short.
How HDB interior design separates the zones
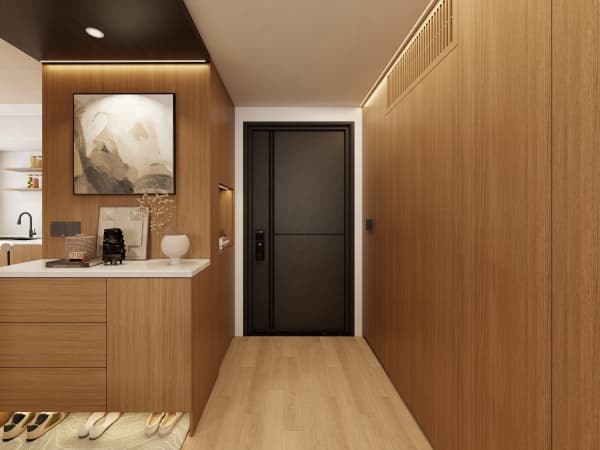
Solid HDB interior design uses floor material and a small step or threshold to mark the line. You lay vinyl or laminate in the dry living area and stop it at the bathroom door, where the tile takes over. The visual break tells your eye where water stops. It also stops a mop bucket spill in the living room from reaching the bedroom.
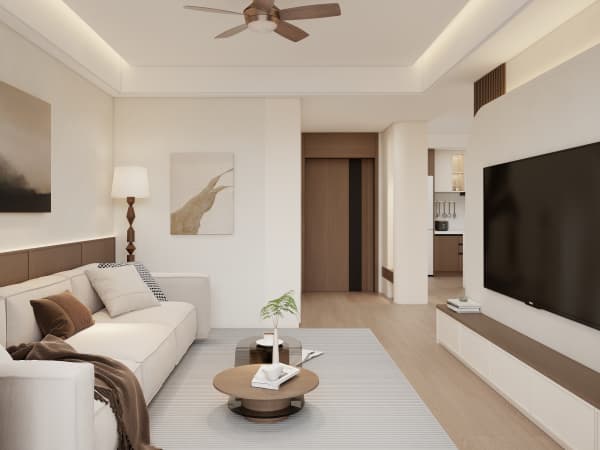
In smaller 3-room flats of about 60 to 65 sqm, the wet and dry split matters even more. You may combine the kitchen and living into one open run, but the bathroom stays sealed. Keep a 50mm to 100mm tile lip at the bathroom threshold so water from a shower never crosses into the laminate.
- Bathroom: full tile, waterproofed, grille window on upper floors for child safety.
- Service yard: tiled floor, washer point, often where the bomb shelter door sits.
- Kitchen: dry on paper, wet at the sink, needs a backsplash that wipes clean.
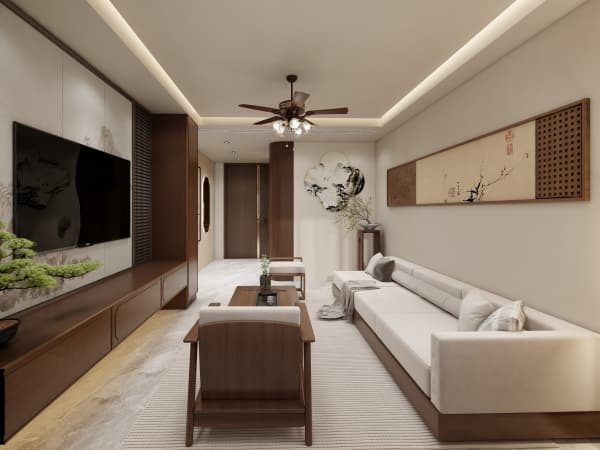
- Living and bedrooms: vinyl or laminate, kept dry at all times.
Step-by-step way to plan your wet and dry split
Map the zones before you sign the reno contract. I do this with clients on the first site visit.
- Walk the flat and mark every existing water point. HDB expects you to keep new plumbing near those points.
- Decide the floor plan. Keep bedrooms and the living room on HDB approved flooring that stays dry.
- Set the bathroom threshold. Raise the tile lip so water cannot escape the wet zone.
- Tell your LRC where you want vinyl versus tile. The permit drawing should show the split.
- Submit the HDB renovation permit. Processing takes about 2 weeks, so book your contractor around that window.
- Check the finished work. Run water in the bathroom and watch the threshold hold the line.
Spatial savings with HDB flat space saving carpentry
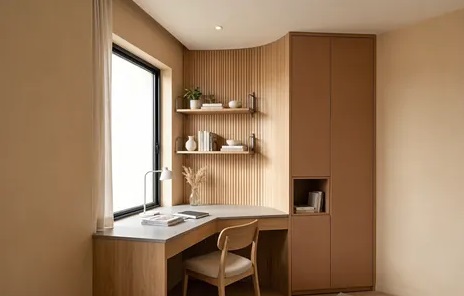
Tight flats reward carpentry that respects the wet and dry rule while saving room. A built-in wardrobe on the dry bedroom wall frees floor space a freestanding unit would eat. A cantilever table near the dry kitchen end gives you a meal spot without a bulky leg. Pull-out pantries sit inside dry cabinet runs, away from the sink splash.
The bomb shelter stays out of all this. HDB lets you add only light fittings and laminated flooring inside the household shelter, and the door stays. Do not plan wet work or carpentry against that wall. Treat it as fixed and design the dry zone around it.
A clean wet and dry split makes daily life calmer and protects your floors for years. Whole-house customization lets you set the tile line, the flooring, and the carpentry as one plan instead of patching pieces together. Reach out to our team and we will draw a wet and dry layout that fits your flat and your routine from day one.