HDB Interior Design Singapore: Dining Nook Timeline
HDB interior design Singapore homes often gain a dining nook by reclaiming a corner of the living hall or a walkway, and the build usually fits inside the main renovation window of eight to twelve weeks. Compact BTO layouts in newer towns make this nook a practical fix for 3-room and 4-room flats.
planning the dining nook in your BTO renovation timeline
Your dining nook should be drawn into the 3D plan before the HDB renovation permit is filed. The permit takes about two weeks to clear, and once hacking begins the layout is locked. Tell your designer early if you want a banquette, a cantilever table, or a full built-in bench so the electrical and flooring teams leave the right outlets and finishes in place.
A nook added after carpentry is installed means extra site visits and delay. Treat it as a first-week decision, not a last-minute idea. The maker needs the wall measured after tiling, so the bench is cut in week five or six and delivered for installation alongside the rest of the carpentry. If you decide in week eight, you add two weeks to handover.
measuring and choosing the right footprint
Most HDB dining nooks occupy 1.2 to 1.8 metres of wall and need 900 millimetres of chair clearance in front. Measure the spot with furniture in mind, not just the empty wall. A 4-room flat of about 90 sqm can spare a 1.5 metre nook near the kitchen without blocking the living room walkway.
- Pick a wall away from the bomb shelter door, which must stay clear.
- Keep at least 1 metre between the nook table and the sofa path.
- Place a power point at seated height if you want a laptop corner.
- Check window grille rules if the nook sits by a window above the safety floor.
For HDB flat space saving, a banquette beats four loose chairs because the bench hugs the wall and the space under the seat stores linens. A 3-room flat near 60 to 65 sqm gains the most from this swap, since every metre of floor counts.
fitting the dining nook into your HDB interior design plan
The nook is where HDB flat space saving matters most. A built-in bench with lift-up storage holds table linens and seldom used items, while a cantilever table folds the footprint down when guests leave. Choose laminate carpentry in a tone close to your kitchen cabinets so the nook reads as one planned zone rather than a later add-on.
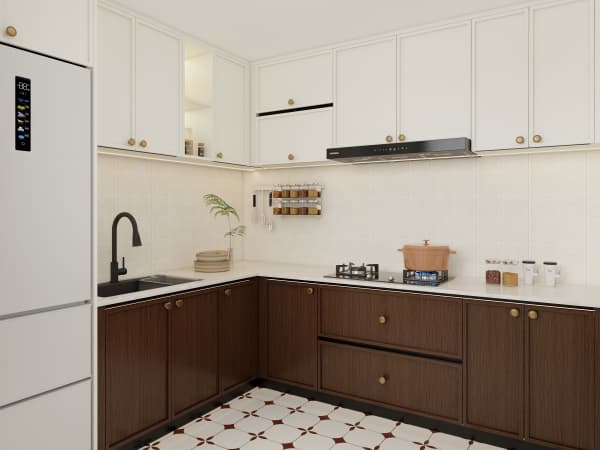
If you plan an HDB open concept kitchen, line the nook bench with the same quartz or solid-surface top used on the island. This carries one material language across the open plan and makes the small dining area feel intentional. The bench then reads as part of the kitchen run instead of a separate piece dropped into the living room.

carpentry steps to build the nook
The workshop follows a clear order so the site stays on schedule:
- Site measure and template the wall after tiling is done.
- Cut the carcass from moisture resistant board for the kitchen side.
- Assemble the base frame and fix it to the wall studs, not the hollow partition.
- Install the bench seat with soft-close hinges for the storage lid.
- Fit the table, then paint and touch up edges to match the room.
This sequence runs in parallel with wardrobe and TV console carpentry, so it rarely adds time to the overall BTO renovation timeline when ordered early. The key is the first measurement, which depends on the tiler finishing the kitchen splash and floor.
flooring and seating underfoot
Use HDB approved flooring such as vinyl or laminate under the nook so it meets the same standard as the rest of the flat. A low pile rug defines the dining zone and protects the floor from chair scuffs. Keep the rug clear of the kitchen splash line to avoid stains, and choose a colour that hides crumbs between cleans.
Lighting finishes the nook. A pendant above the table at about 1.5 metres from the floor gives task light without glare, while a warm LED strip under the bench adds a soft wash at night. Plan the pendant feed in the electrical stage so the contractor does not chase the ceiling later.
Building a dining nook is easier when one team owns the whole plan from permit to carpentry. Whole-house customization keeps the nook, the kitchen, and the storage in one coordinated drawing so the timeline holds and the result looks built in from day one.