Custom Furniture of apartment: A Kettle Niche Clean
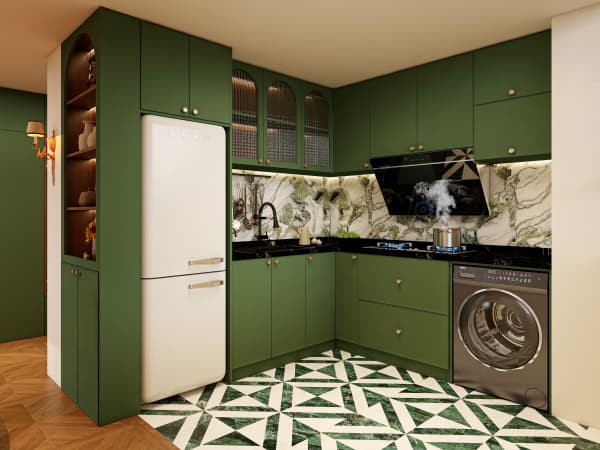
Custom Furniture for an apartment makes a kettle niche clean and tidy by building a small recessed spot for the kettle, mugs and packets. It keeps the counter clear and stops that tangle of wires and drips you get when the kettle lives next to the rice cooker.
Why a kettle niche belongs in every Singapore kitchen
Boiling water is a daily ritual here – coffee, tea, instant noodles, baby formula. Yet most HDB and condo kitchens cram the kettle beside the sink where splashback water ruins the base. A dedicated niche with a drip tray and a power point behind it fixes that. In a 4-room HDB of roughly 90 sqm, the kitchen is compact, so every cleared centimetre counts.
A clean niche also means no cord dangling across the worktop. You lift the kettle, fill at the sink two steps away, set it back, done.
Materials and finish choices
The niche sits against a wall or inside a cabinet run. Pick for wipe-down ease:
Laminate interior – Cheap, smooth, shrugs off water marks. The safe default for a wet spot.
Compact quartz or tile back – If the niche is open to the wall, a tile or stone back panel handles heat and drips better than bare board.
Plywood with waterproof coat – Good if you want a warmer look but still need to survive steam.
Avoid plain MDF with no laminate near a kettle; one overflow and it swells. Keep a small stainless drip tray at the base so condensation has somewhere to go.
How to build the niche
First, measure your kettle's height and width and add 5 cm breathing room. Decide open or closed: an open niche is easier to grab from, a closed one with a flip-up door keeps dust out but traps heat, so leave a gap.
Power point – Have the electrician put a socket inside the niche, not beside it, so the cord hides. This is a licensed works item; don't DIY the wiring.
Ventilation – Leave a 2 cm gap at the top or a slot at the back so the kettle's heat escapes.
Tray – A removable tray makes weekly cleaning a five-second job.
Lead time is the usual 6 to 10 weeks from measure to install when bundled with other carpentry. If it's a standalone small job, a workshop may turn it around quicker, but don't count on it during peak BTO handovers.
Custom Furniture cost and budget notes
A simple kettle niche runs roughly S$150 to S$400, depending on whether it's cut into existing cabinets or built fresh. Adding a powered socket is a separate electrical cost of around S$80 to S$150 per point. Across a S$30k to S$70k reno this is pocket change, but it's one of those details people notice. Small Custom Furniture like a kettle niche is billed as a minor carpentry item, easy to slot into the kitchen quote.
Condo owners should check MCST rules before cutting into any common-wall or built-in services; most allow internal cabinet work without much fuss, but get the clearance in writing.
Keeping it clean and resale
Empty the tray weekly and wipe the back with a damp cloth. Laminate needs only that; tile or stone backs just need a quick scrub. Watch the power point for scorch marks and replace the tray if it rusts.
Within the one-year defect liability period, any warping or loose panel from the build is the contractor's fix. For resale, a clean kettle niche won't add dollars to your price, but buyers scrolling photos love a kitchen that looks considered rather than cluttered. A client in Tampines said the niche was "the thing every visitor asks about" – small detail, big everyday payoff.