HDB Interior Design Singapore: Planning Electrical Points
HDB interior design Singapore projects live or die on the electrical plan, and it is the one drawing homeowners rush. New BTO kitchens are induction-ready, which changes how the kitchen circuit is sized. Every socket, switch and light point has to be fixed before plastering, because moving one afterwards means hacking a finished wall.
Read your existing provisions before adding anything
A BTO flat is handed over with basic provisions including doors, wet-area tiles and a set of kitchen and bathroom fittings, along with a standard electrical layout. Count what you have first. Most 4-room BTO flats at around 90 sqm come with a modest number of 13A sockets, and the shortfall shows up the day you unpack.
Resale flats need a harder look. Wiring installed in the 1980s and 1990s uses smaller conductor sizes and older distribution boards, sometimes without a residual current device on every circuit. Full rewiring is common in resale renovation, which is one reason resale sits around S$50,000 to S$70,000 as a market range against roughly S$30,000 to S$45,000 for a 4-room BTO.
- Check the distribution board: number of ways, spare capacity, and whether earth leakage protection covers all circuits.
- Check the incoming supply rating, especially if you plan an induction hob, a storage heater and a built-in oven together.
- Check socket types. Older flats have 15A round pin sockets that no modern appliance uses.
- Note which walls are structural. You cannot hack structural walls, beams, columns or slabs, so conduits there run in the ceiling void or a bulkhead.
Room by room point planning that holds up in HDB interior design
Plan by furniture, not by wall. Draw the sofa, the bed and the dining table first, then place points against them.
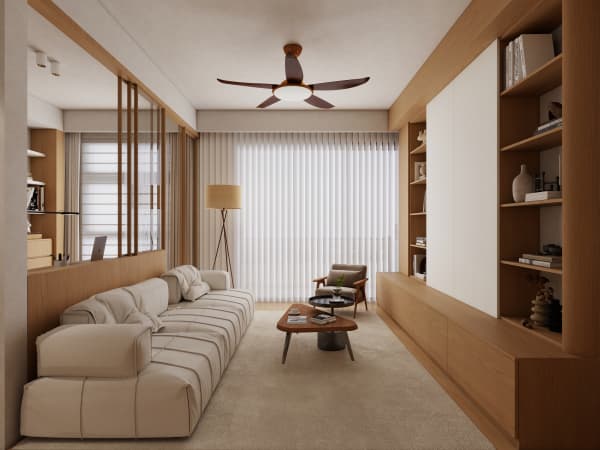
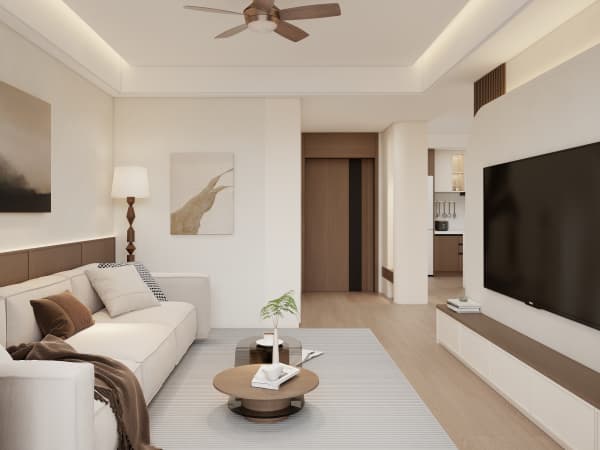
- Living room: four to six sockets behind the TV console, two at the sofa ends for lamps and chargers, one near the main window for a curtain motor, and a floor socket if your sofa floats away from the wall.
- Dining: one socket near the table for a hotpot or a kettle, plus a dedicated light point centred on the actual table position, not the room centre.
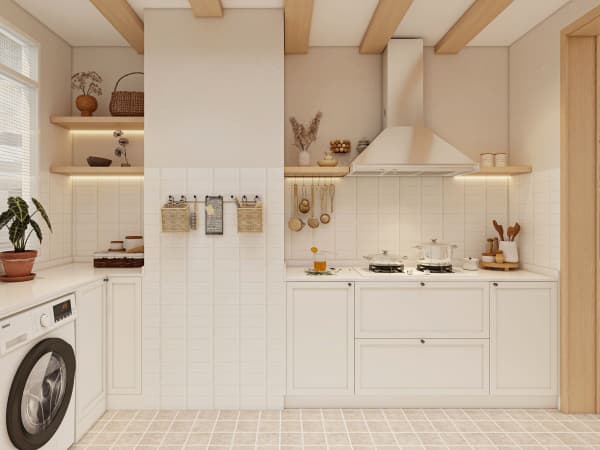
- Kitchen: a dedicated induction hob circuit, a dedicated oven circuit, a fridge socket on its own way, and four to six countertop sockets spread across the work zones. Add one inside the pantry cabinet.
- Master bedroom: two sockets per bedside, two-way switching at door and bed, one socket at the wardrobe for a dehumidifier, and one at the study nook.
- Bathrooms: water heater point, mirror light point, exhaust fan point, and a socket for a bidet seat if you want one. All outside the splash zone.
- Service yard: washer and dryer points on separate circuits, and one spare for a portable appliance.
- Household shelter: light fittings only. The shelter is not renovated beyond light fittings and laminated flooring, and the door stays.
Heights matter as much as positions. General sockets at 300mm above finished floor, countertop sockets at 1100mm, switches at 1200mm to 1350mm. Behind a TV console, raise the sockets to 400mm so the console back panel does not crush the plug.
Step by step: locking the electrical layout
- Appoint an HDB Licensed Renovation Contractor from the HDB Directory of Renovation Contractors, and confirm a licensed electrical worker handles the DB and circuit work.
- Submit the HDB renovation permit before works begin. Processing takes about 2 weeks, so slot it early in your BTO renovation timeline.
- Finalise your appliance list with model numbers. An induction hob, a built-in oven and a combi steam oven each carry different load and connection requirements.
- Finalise carpentry drawings. Socket positions inside cabinets, under the platform bed and behind the wardrobe depend on the joinery dimensions.
- Mark every point on the actual wall with masking tape and a marker during a site walk. Stand where you will stand. Sit where you will sit.
- Sign off the marked-up plan with your contractor, and take dated photos of every wall.
- Chase conduits into non-structural walls, run the rest above the false ceiling, then photograph everything before plastering.
- Test each circuit and label the DB clearly by room and function before handover.
Chasing walls is loud. HDB restricts hacking and drilling to weekdays 9am to 6pm, with none on Sundays or public holidays, so group all the noisy electrical work into one continuous block rather than spreading it across weeks.
Kitchen circuits and the induction question
New BTO kitchens are induction-ready, which means the provision exists for a hob that draws serious current. An induction hob needs its own dedicated circuit with correctly sized cable and breaker, sized to the specific model. Do not share it with the oven.
Gas is a different pathway. Gas supply and any gas appliance installation follow SP and SG rules along with SCDF requirements, handled by the authorised parties rather than your renovation contractor. Decide gas or induction before the kitchen carpentry is drawn, because the cabinet under the hob is configured differently for each.
If you are planning an HDB open concept kitchen, remember that open concept is allowed and it moves your appliance positions. An island with a socket needs a floor conduit run before screeding, and that is only possible while the floor is open.
Lighting circuits and switch logic
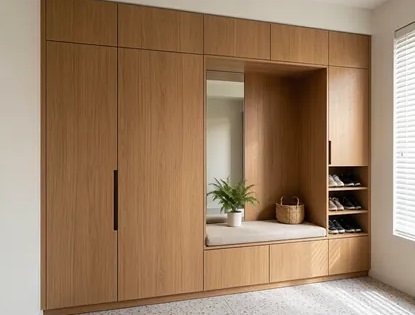
Split your lighting into layers and give each layer its own switch. A single switch controlling every downlight in the living room is the most common regret I hear.
- Ambient layer: cove lighting or general downlights.
- Task layer: under-cabinet strips in the kitchen, a reading light at the bed, a desk light at the study nook.
- Accent layer: a track light on the feature wall or a pendant over the dining table.
Two-way switching belongs at the bedroom door and bedside, at both ends of a long corridor, and at the top and bottom of any level change from a platform. Pull a neutral wire to every switch box while you are at it, so a future smart switch upgrade does not require opening walls again.
Electrical planning is the quiet foundation under every other decision in your flat. The platform bed with storage needs a socket in the right cavity. The built-in wardrobe needs a light that switches with the door. The cantilever table needs power at the free end. When one team draws the carpentry, the lighting and the circuits together, those details are resolved on paper instead of argued over on site. That is what whole-house customization delivers. Book a site walk with a designer, bring your appliance list and your furniture dimensions, and settle the electrical layout before a single conduit goes into a wall.